The Equipment: Minimalist, but Effective
Wiesner uses an OM-1 Mark II camera, equipped with a macro lens with a focal length of 90 mm. To illuminate the subject optimally, he uses compact LED continuous light, including the LUMIS Solo 2 – a practical LED cube that comes with accessories like color foils and a spot attachment. This equipment is not only lightweight but also offers enough flexibility to work in the forest without having to drag heavy tripods or elaborate lighting equipment.
The Setting: Close-to-Ground Perspectives for Unique Details
In the first setting, Wiesner places the camera directly on the ground, without using an additional tripod. His goal: to photograph the mushroom from an extremely low perspective to capture the fine details of the gills under the cap. Branches and leaves that are in the way are carefully removed, but nature remains largely untouched.

To optimally prepare the image section, he leaves some space to the left and right to allow enough room for later focus stacking. The camera helps with this, as it automatically combines the shots internally.
Focus stacking is a technique in photography where multiple images with different focus points are taken and then combined into a single image. The goal is to achieve continuous sharpness from foreground to background. This method is particularly used in macro and landscape photography when the depth of field is not sufficient to render all image areas sharply at the same time.
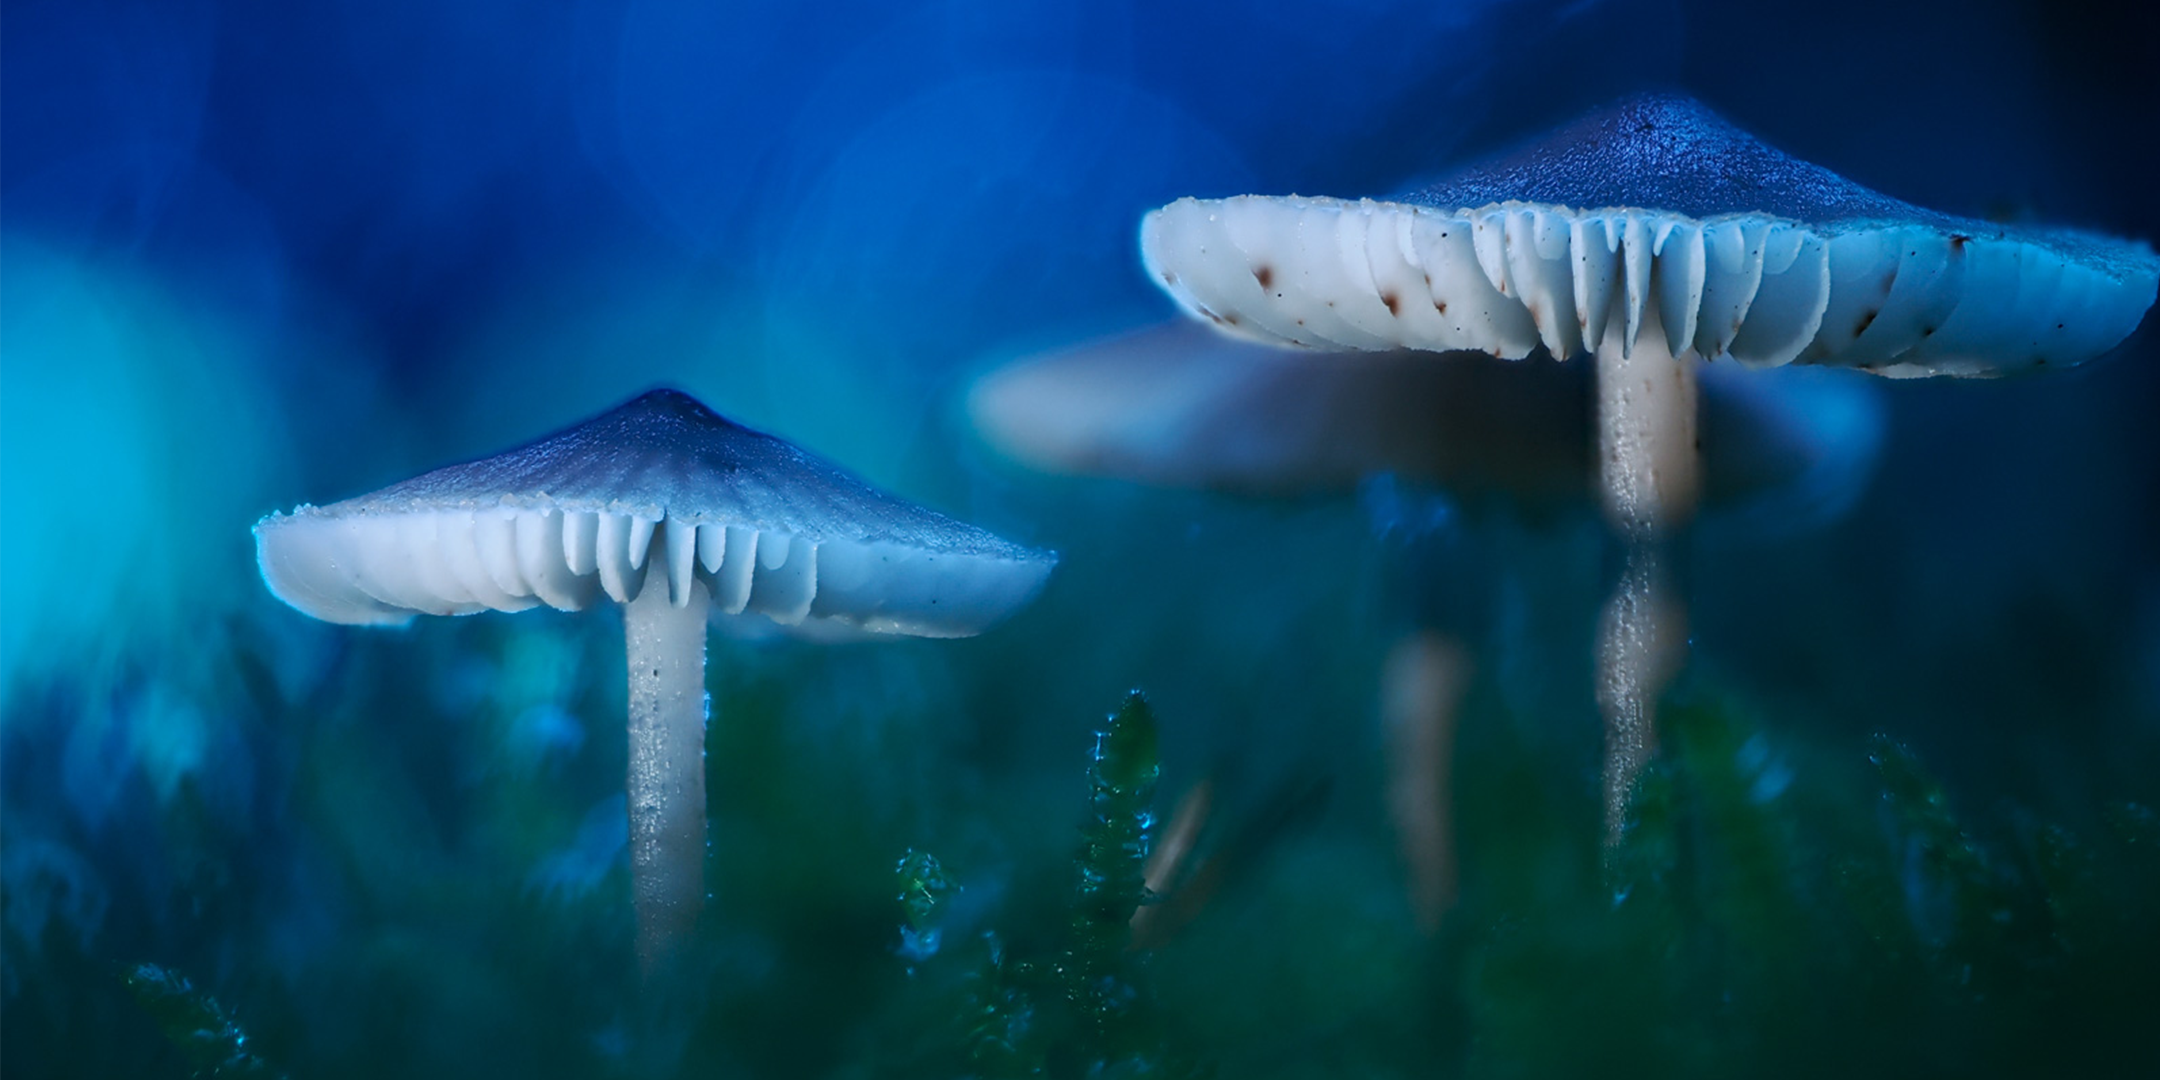
Magical Light: Playing with White Balance and Color Temperatures
An important aspect of Wiesner's technique is targeted lighting design. For his shots, he sets the white balance to 3,000K to create a bluish tone. This makes the mushrooms appear as if they are illuminated by mystical moonlight. This effect is supported by an open aperture of around 3.5, which creates a soft background. He compensates for the shallower depth of field with focus stacking, which the camera can automatically process internally.

For a manual alternative, he recommends using a macro rail to manually set the focus planes and then combine the images in software.
Creative Light Sources: The Use of LED Continuous Light
Additionally, Wiesner uses the LUMIS Solo 2 and the LUMIS Compact RGB to perfectly illuminate the mushroom. He plays with different color tones, such as a slight blue or orange, to showcase the mushroom. It is important that the light does not come directly from the front. Instead, Wiesner advises positioning the light source from the side, obliquely from behind, or from above. This creates a more pleasant and natural illumination.

Bokeh Effect with Steel Wool: A Clever Trick
A small problem on this forest tour: the lack of sunshine means Wiesner misses the desired bokeh in the background – like a glittering stream. But here too, he shows a simple solution. He stretches some steel wool onto two mini tripods, such as the Funky or Monkey Pod, and illuminates it with another LUMIS Solo 2. The bluish glow of the LED lights creates a similar effect, adding depth to the image.
 Creative Tips for Special Shots
In addition to classic mushroom photography, Wiesner also recommends trying different settings. A mushroom growing out of a tree trunk can be just as fascinating as the striking red and white caps of a fly agaric. Through the conscious use of light and perspective, the natural charm of mushrooms can be wonderfully captured.

Conclusion: Mushroom Photography without Much Effort
Stephan Wiesner impressively demonstrates how to create stunning mushroom photos with little equipment and without elaborate post-processing. With the right camera, a few LED lights, and a creative approach, unique subjects can be found and captured in the forest. Try it yourself – the forest awaits you with many small, hidden wonders!
More from Stephan Wiesner
Share:
Collapsible Reflectors - Why You Need Them
First-Time Use of Your Rollei 35 AF: This Guide Guarantees Successful Shots