
Professional photographer Frank Fischer from Seevetal near Hamburg owns his own photography school and has extensive experience in panorama photography. We asked him what is important when mounting a panoramic head and what photographers can expect without a nodal point adapter.
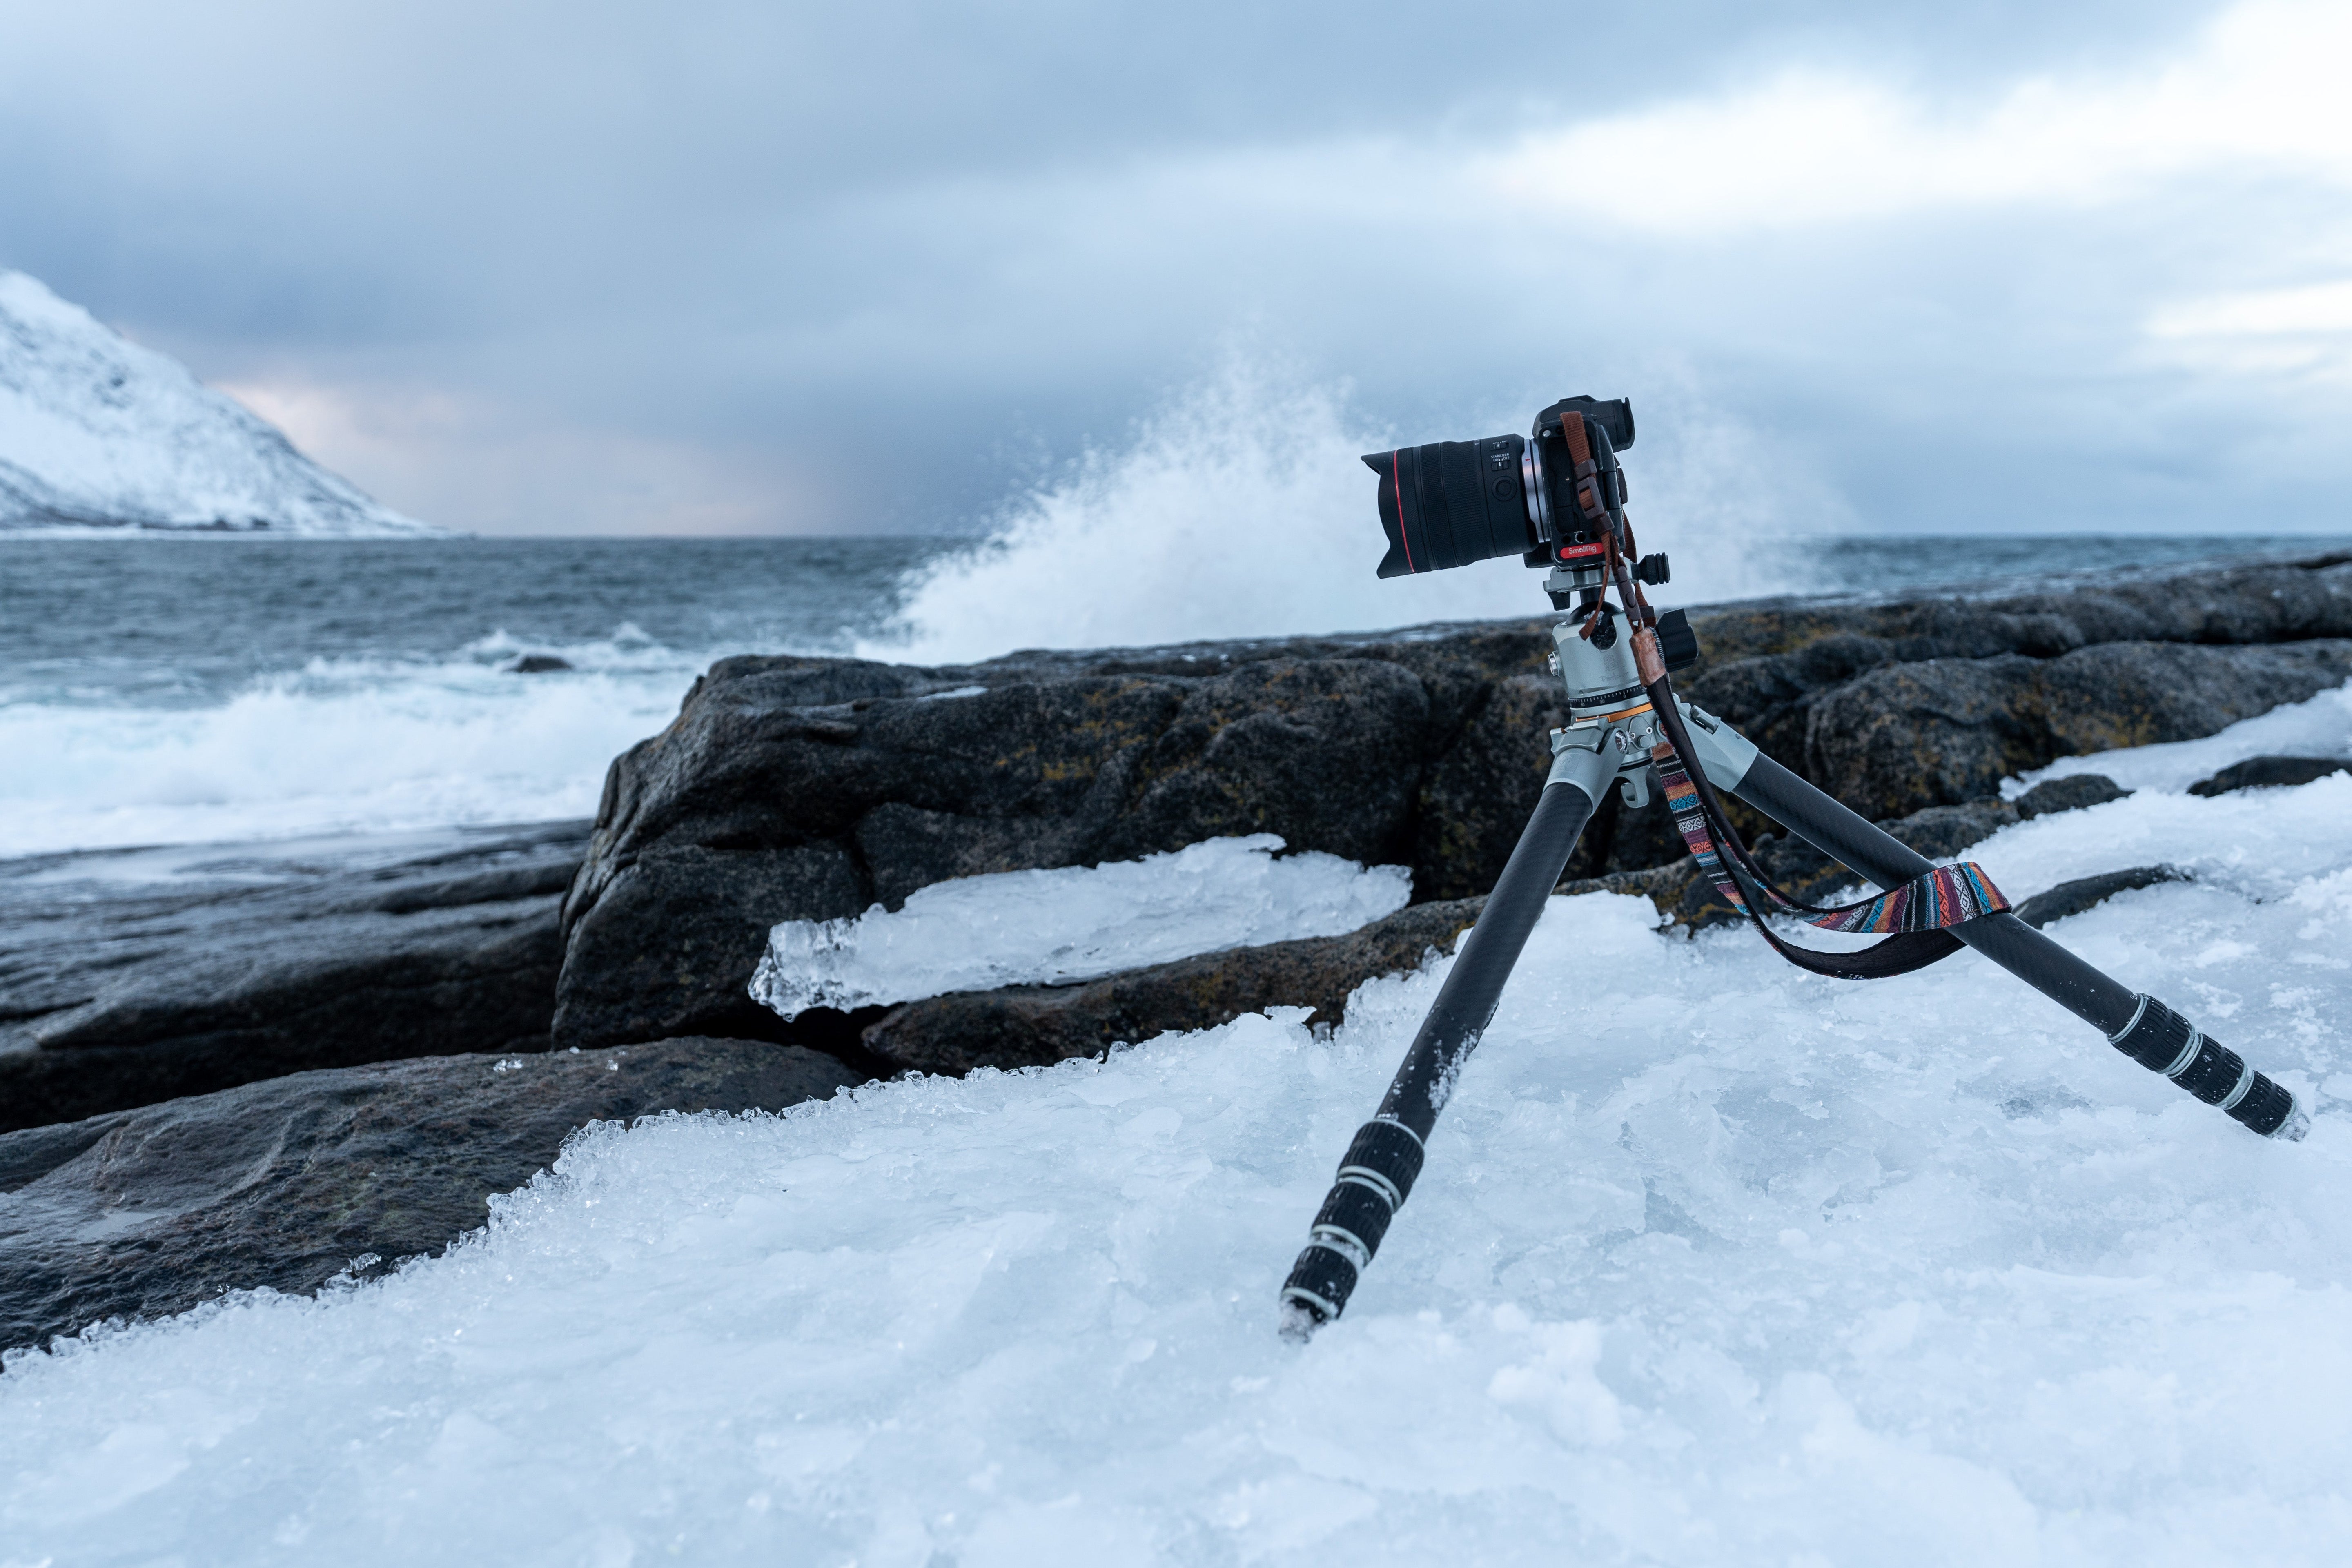
The most important thing when mounting it on the tripod is that the regular tripod head, for example, the ball head, is removed. This is because where the ball head was, the nodal point adapter should be attached horizontally. It is particularly easy to level it if you have a tripod with a leveling unit. Rollei, for example, has this feature on the Rock Solid Alpha XL, and for the Rock Solid Alpha, it can be purchased as an optional extra.
If you don't have the unit, you have to level the tripod base by adjusting the length of the legs, which is difficult because there are three legs. If you adjust one leg, the tripod is usually still not level, and you are forced to gradually adjust the other legs and work your way towards leveling. It is important to work level, otherwise the horizon will not be straight. It may then appear wavy, which looks somewhat unprofessional in the finished photo.

How to use the Nodal Point Adapter
Once the tripod is aligned and the panoramic head is mounted, the camera must be aligned to the center of the tripod plate. To do this, bring the camera into the vertical position using the arm of the Panorama 200 Mark II nodal point adapter and position the lens vertically above the center of the tripod. Then, for the lens and focal length combination, you need to determine the nodal point once.

Regarding the nodal point, most photographers think that you just have to pan the camera at the sensor plane and everything will be fine. However, this is not true. For example, if you hold your arm and thumb forward and then look past one thumb with one eye and then past the other thumb with the other eye, you will see that the background does not sit in the same place behind the thumb. And this also happens when rotating the camera. We also rotate our head at the neck level. So you also have to rotate the panoramic head on a different plane. Because the nodal point is always in front of the sensor plane, i.e. somewhere in the optical path of the lens. How to do this can be seen in the video. Once you have determined the nodal point for the lens used, it is best to note down the millimeter values of the scales on the panorama rails of the Panorama Head 200 Mark II. You do this so that you don't have to determine the nodal point again at the next shoot, but can set the head to the same settings and save a lot of time.
Determining the nodal point is important for the following reason: If you were to pan the camera without an adapter, so-called parallax errors would occur, which would then make it impossible for the software to overlay these individual images without "ghosting". Thus, a cleanly produced panorama from these individual images would not be possible. In a panoramic image, the wide panoramas are calculated from the individual images using software. The software assembles the individual images into a finished panorama using the so-called stitching process.
What happens without the adapter
For example, you can take the skyline in New York. If you stand on the bank there and the first area of the photo is 50 meters away, then it's no problem to take the individual pictures without observing the nodal point, because parallax error occurs significantly in image areas in the direct foreground.
Especially with very wide panoramas that appear wide-angle, you want to have foreground in the picture. This is because photos are two-dimensional and only become truly three-dimensional with the foreground. So as soon as really good panoramas are to be created and foreground is to be included in the picture, you need the Panorama 200 MK II.

In general, it is recommended to take individual panoramic shots in portrait orientation. This has the advantage that the longer sensor edge with the higher resolution forms the height of the panoramic resolution. In addition, this expands the angle of the vertical panoramic axis in the image. The individual images should overlap by at least 30 percent so that the software can easily stitch the finished panorama later. These 30 percent can be set on the panoramic head via the detent or alternatively read from the scale of the rotator.

Software: Lightroom, Photoshop, PTGui
It is recommended to use manual mode on the camera. Basically, you should shoot in RAW format. However, if you are shooting in JPG, the white balance should also be set manually. Before the first individual shot, you should focus manually, otherwise there can be different focal planes in the finished panorama. Because if there is foreground in the picture and the focus is once on the foreground and once on the background, this will appear as a visible error in the finished picture.
If you are shooting a panorama in individual images and plan to assemble the panorama in Lightroom, then the use of manual mode can optionally be omitted. In the current versions, Lightroom adjusts the individual images in color and exposure to each other, so that you do not see the transitions. Most photographers will use Lightroom or Photoshop to stitch panoramas. For the panorama professional, specialized software such as PTGui is recommended.
Expert Tip: Before the first and after the last single image, you can take a picture of your own hand. Then you know which is the starting photo and which is the last photo of the panorama to be created. Otherwise, the clarity of many single photos taken on one day in the photo library suffers greatly. - Frank Fischer

What makes working with the 200 MK II so relaxing
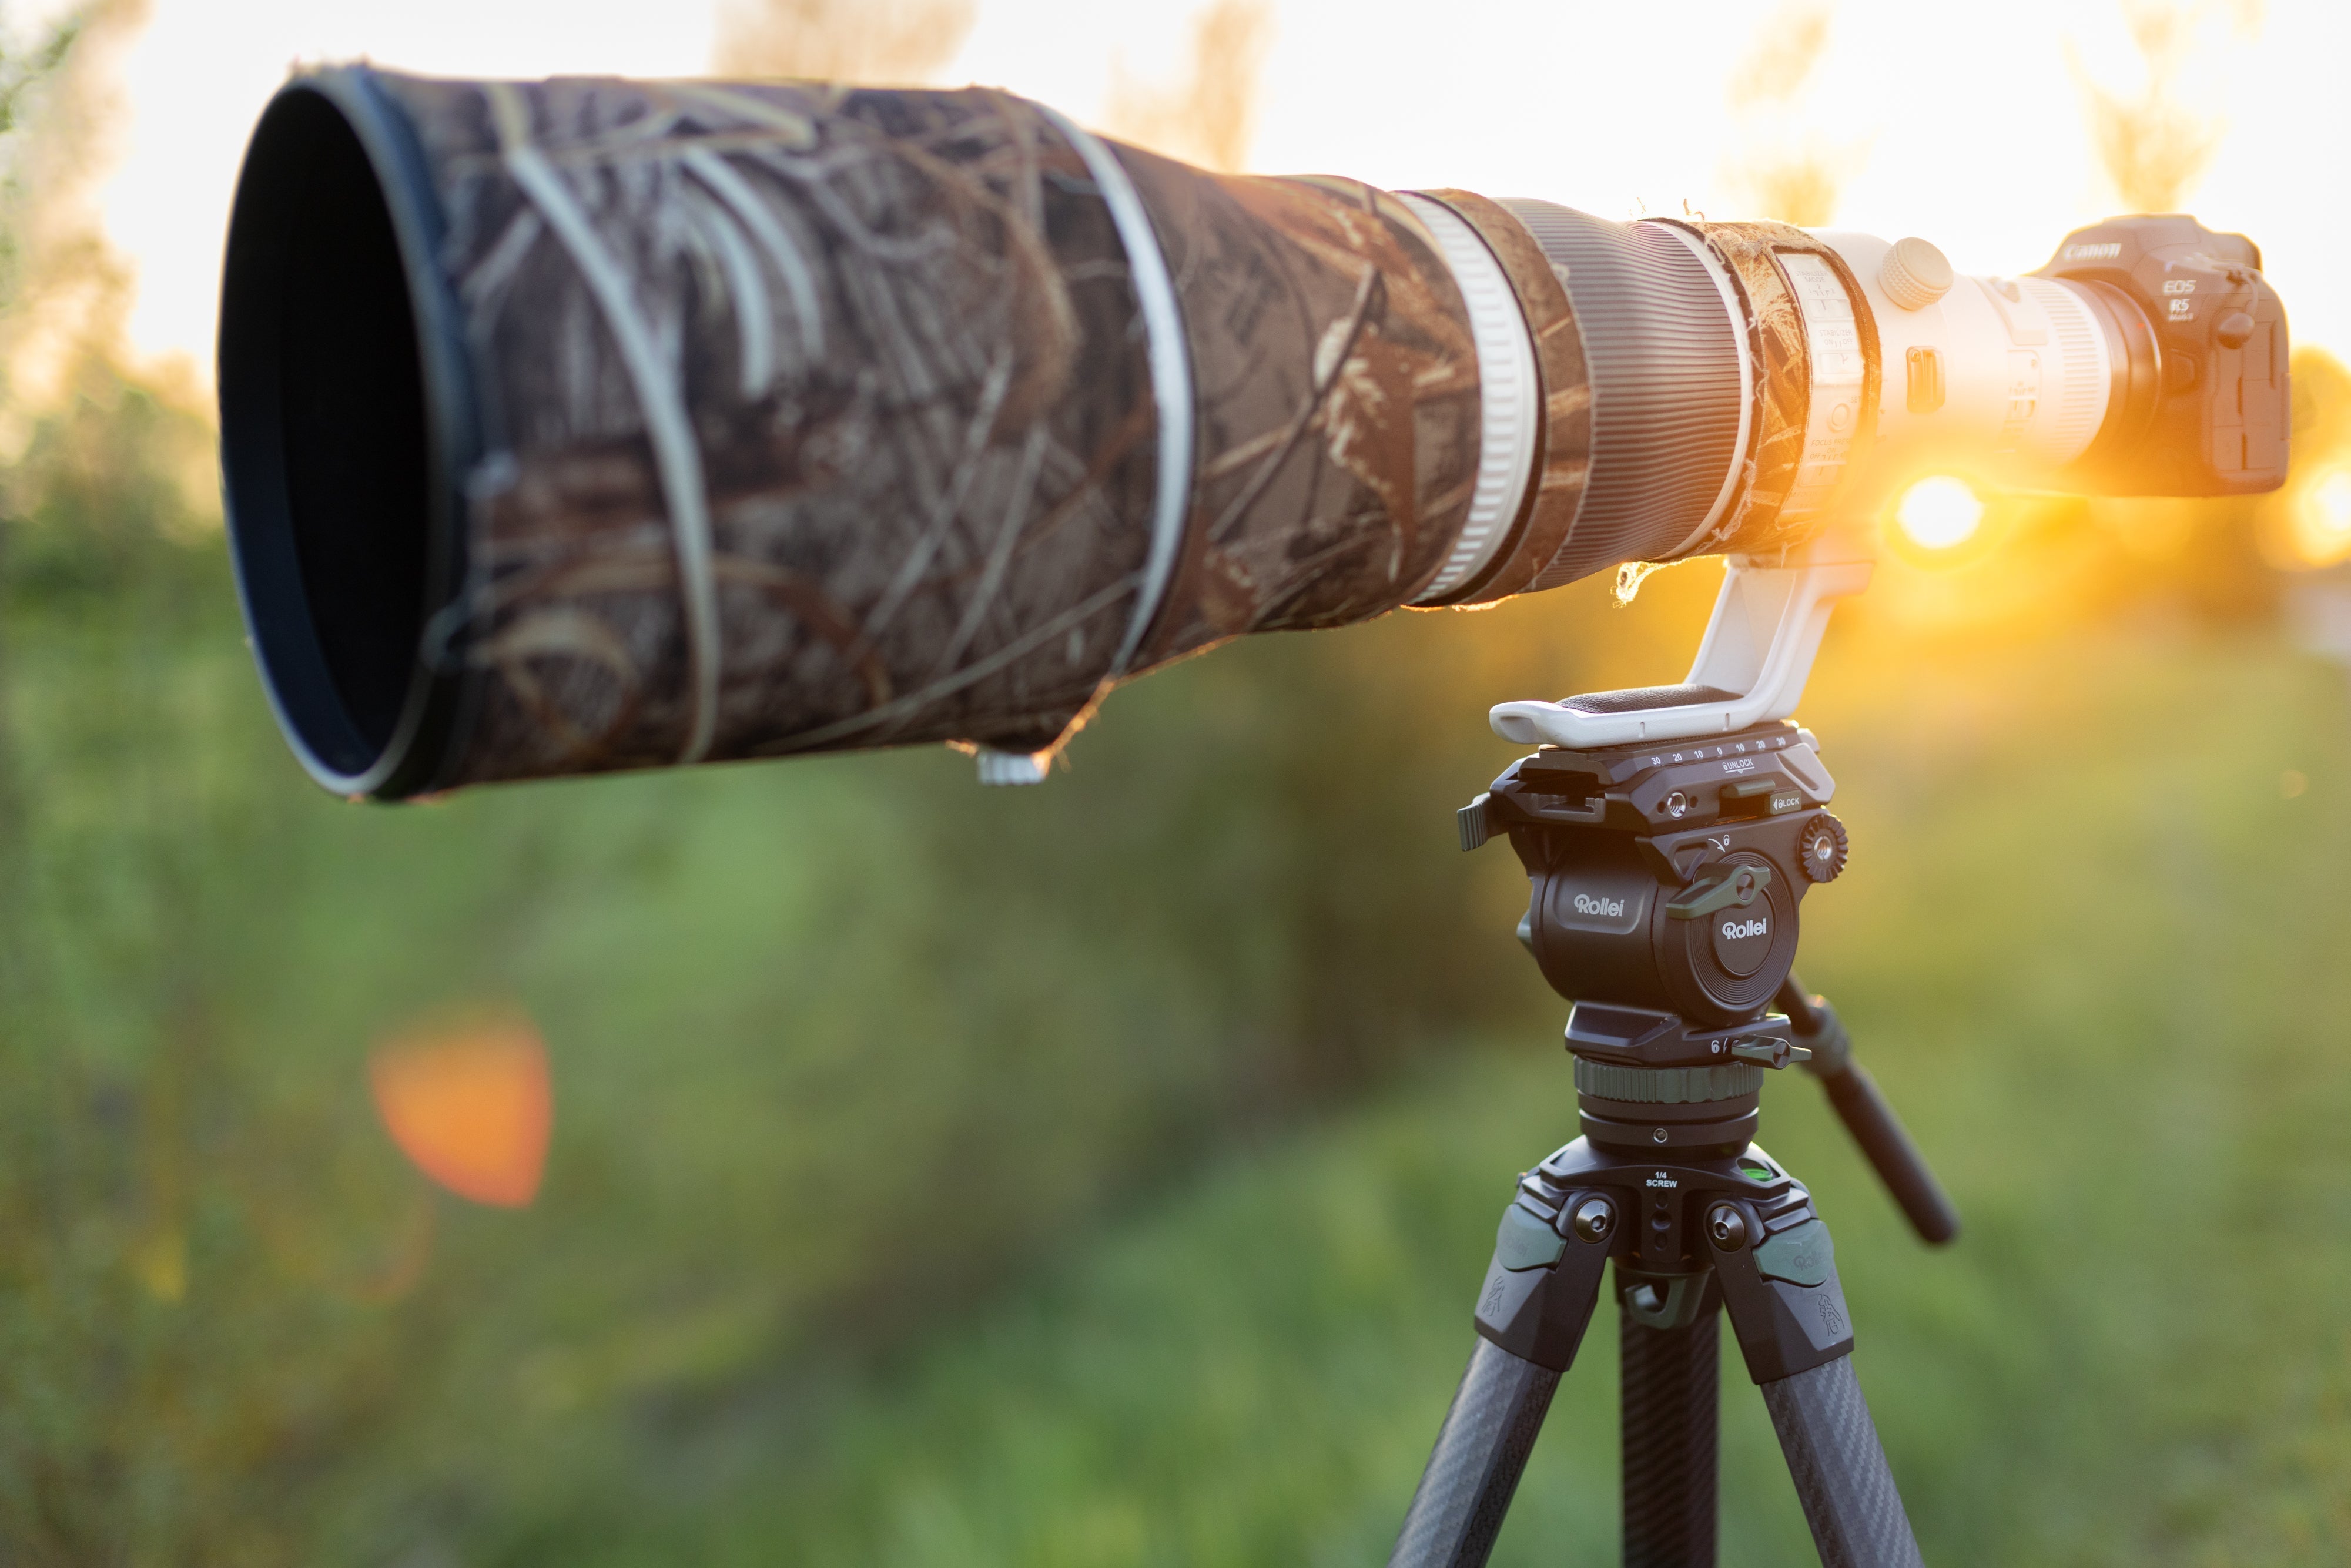
The Panorama 200 MK II is very robust and largely pre-assembled upon delivery, which is a great advantage. With many competing products, you first have to assemble the individual rails. The Panorama 200 MK II is foldable, and the detent for the degree setting on the rotator is also clearly noticeable. The included case is ideal for storing and transporting the Panorama 200 MK II, and the head is very easy to use.

For smaller cameras, it seems a bit large, but it is absolutely sufficient, stable, and high-quality for full-frame cameras with large lenses. For example, the Panorama 200 MK II can easily carry a 70-200mm zoom! Overall, it is very pleasant to work with the head.
These are the most common mistakes when working with a panoramic head
The tripod base is not cleanly aligned. Main problem: Sometimes mistakes are already made during preparation. Of course, this is not too bad if you are a panorama specialist and have the necessary software. However, not every photographer combines these two prerequisites, so preparation is very important!

It can also be problematic if you want to take a wide panorama by the sea and are in a rocky cove. In such cases, one of the individual photos may consist exclusively of sea and horizon. Here, automatic calculation software like Lightroom will have a very hard time stitching. Often, panorama creation in Lightroom will then fail. In this case, it may be advisable to deviate from the 30-degree overlap. It helps Lightroom and any other software a lot if each individual image contains objects that are clearly recognizable in the next individual image in the overlap area. This is often difficult with the sea, meadows, pastures, and flat horizons and should be considered during shooting.

Share:
5 spooky Halloween pictures by Sebastian Nagel
Studio fashion photography with Timo Frank