Developing your own film is a fascinating process that allows you to deepen your connection to your craft. It may seem daunting at first, but with the right fundamentals and guidance, you can master this process. This blog post will introduce the basics of film development and provide a step-by-step guide for developing black and white and color film.
Fundamentals of Film Development
Equipment
For film development, you will need some basic equipment:
- Changing Bag or Darkroom: For loading the film onto developing tank reels.
- Developing Tank and Reels: Containers for holding and developing the film.
- Chemicals: Developer, Stop Bath and Fixer for black and white film; additional chemicals for color film.
- Measuring Cups and Thermometer: For measuring and monitoring chemical temperatures.
- Tongs or Film Clips: For hanging the film to dry.
- Gloves and Safety Goggles: For protection from chemicals.
Chemicals
The three main chemicals for film development are the developer, stop bath, and fixer. The developer converts the exposed silver halide in the film into metallic silver. The stop bath is used to halt development and prevent overdevelopment. The fixer is then used to remove unexposed silver halide and make the image permanent.
Step-by-Step Guide for Black and White Film
-
Film Loading: Load the film into the developing tank reels in complete darkness or in a changing bag. Once the film is in the reels, you can close the tank.
-
Prepare Chemicals: Measure the required amount of developer, stop bath, and fixer and bring them to the correct temperature (usually around 20°C). Read the chemical manufacturer's instructions. These often indicate how much solution is needed for a specific number of films. Typically, the quantity of chemicals is given in liters or milliliters per roll of film.
-
Develop: Pour the developer into the tank and start the timer. The development time may vary depending on the film and developer. Agitate the tank regularly to distribute the chemicals evenly.
-
Stop Bath: After the development time is up, pour out the developer and fill the tank with the stop bath. Agitate the tank for about one minute.
-
Fix: Pour out the stop bath and add the fixer. Leave the fixer in the tank for the prescribed time and agitate it regularly.
-
Rinse: Remove the fixer and rinse the film with water. A final rinse with distilled water or a special rinsing aid prevents water spots.
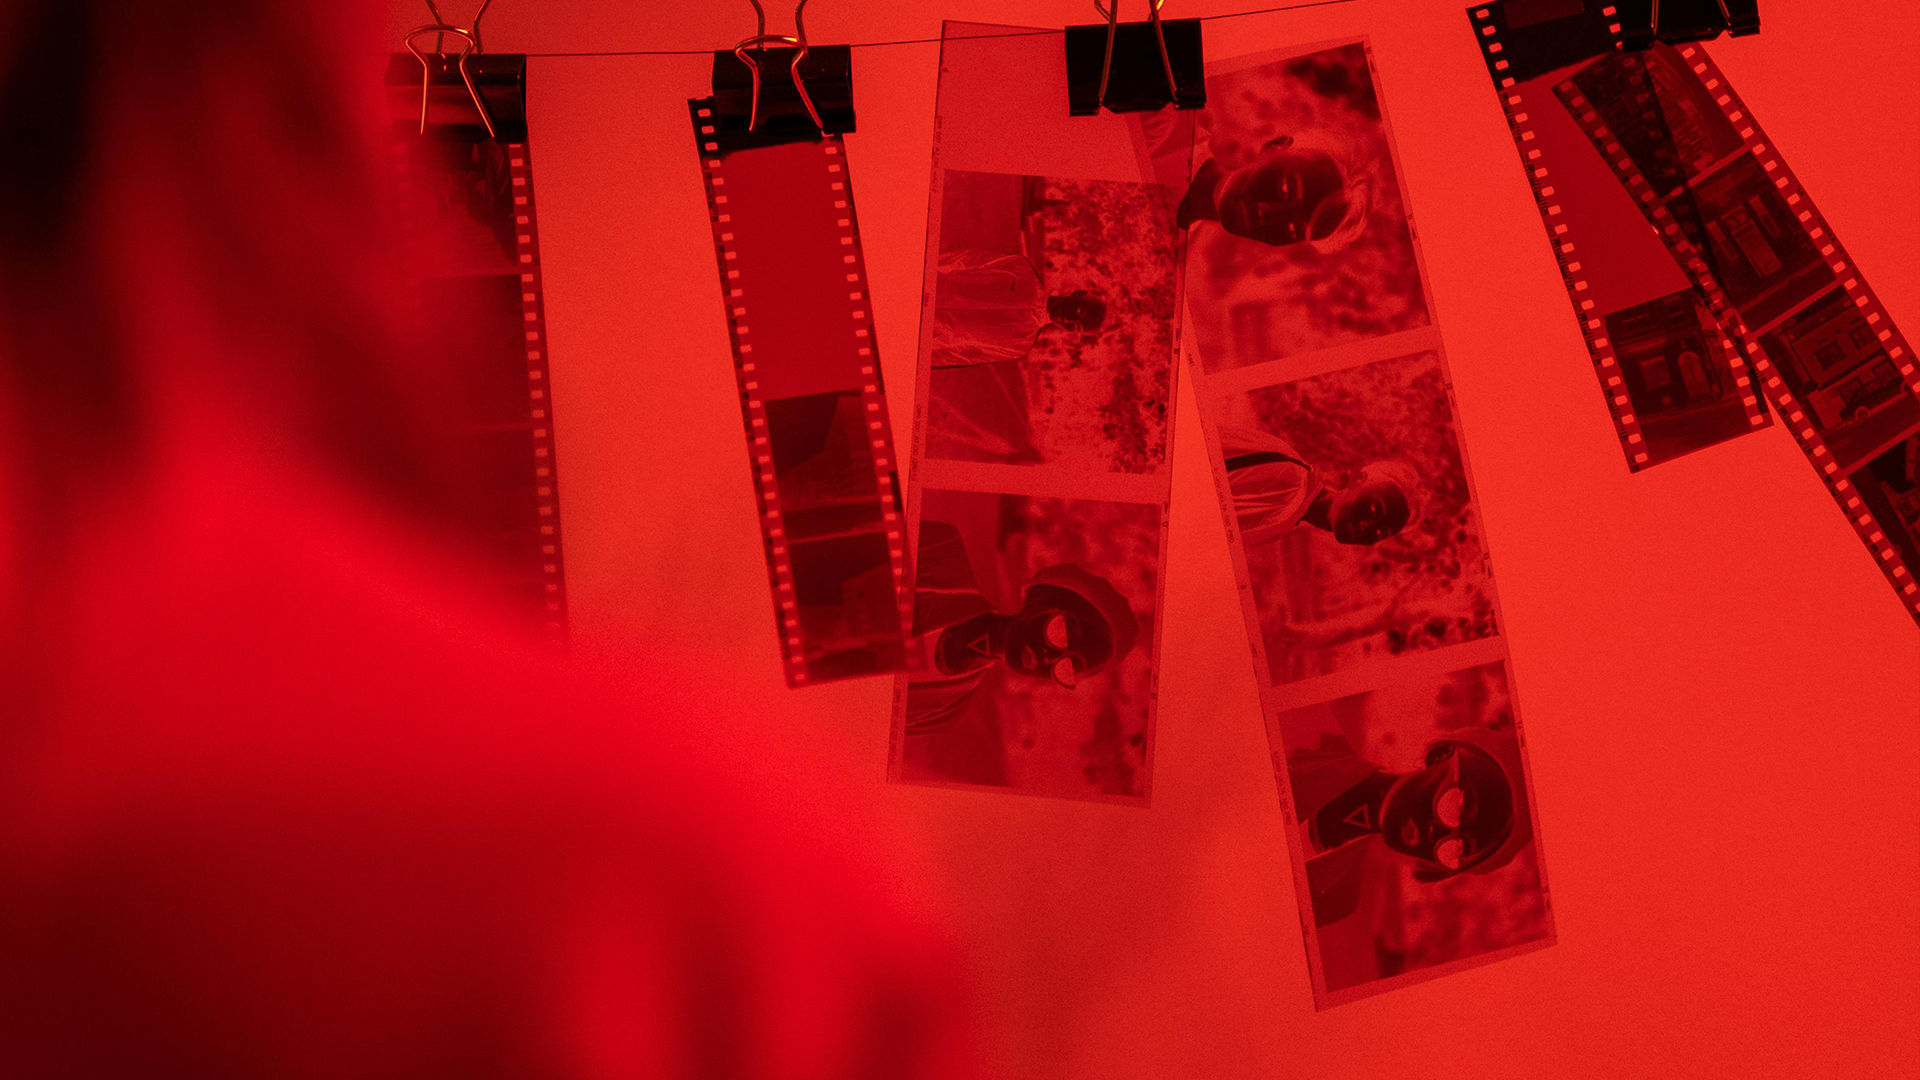
- Dry: Hang the film in a dust-free area to dry. Use tongs or film clips to keep the film flat.

Step-by-Step Guide for Color Film
Developing color film is indeed more complex and requires additional chemicals and more precise temperature controls. However, the basic steps are similar:
-
Film Loading: Load the film into the developing tank as with black and white film.
-
Prepare Chemicals: Prepare the color chemicals (developer, bleach, fixer, and stabilizer) according to the manufacturer's instructions and bring them to the exact temperature (usually around 38°C).
-
Develop: Pour the color developer into the tank and follow the instructions for development time and regular agitation.
-
Bleach: After developing, the bleaching step follows, which converts the exposed silver back into silver halide.
-
Fix: The fixer removes the silver halide and makes the image permanent.
-
Rinse: Rinse the film thoroughly with water.
-
Stabilize: A final stabilizing bath protects the film from aging and chemical reactions.
- Dry: Hang the color film to dry just like black and white film.
Self-developing film is a rewarding process that allows you to fully control your photographs. With the right equipment and an understanding of the fundamentals, you can successfully develop both black and white and color films at home. Experiment with different films and developers to expand your photographic skills and creative possibilities. Good luck and have fun developing!


Share:
Everything You Need to Know About HSS Photography: A Guide
The Magic of Fog Machines: Here's where you can use your SmokeMaster!