
The final photo
 It hasn't been long since we launched our Lumen Sticks, and we're already receiving amazing photos where the LED lights are used impressively.
Simple means – clever implementation
For example, photographer Max Brandt from Hamburg (Instagram: @maximilianbrandt_) sent us the following pictures. He created them with simple means, but in a very clever way.
Asia, shopping district, car?
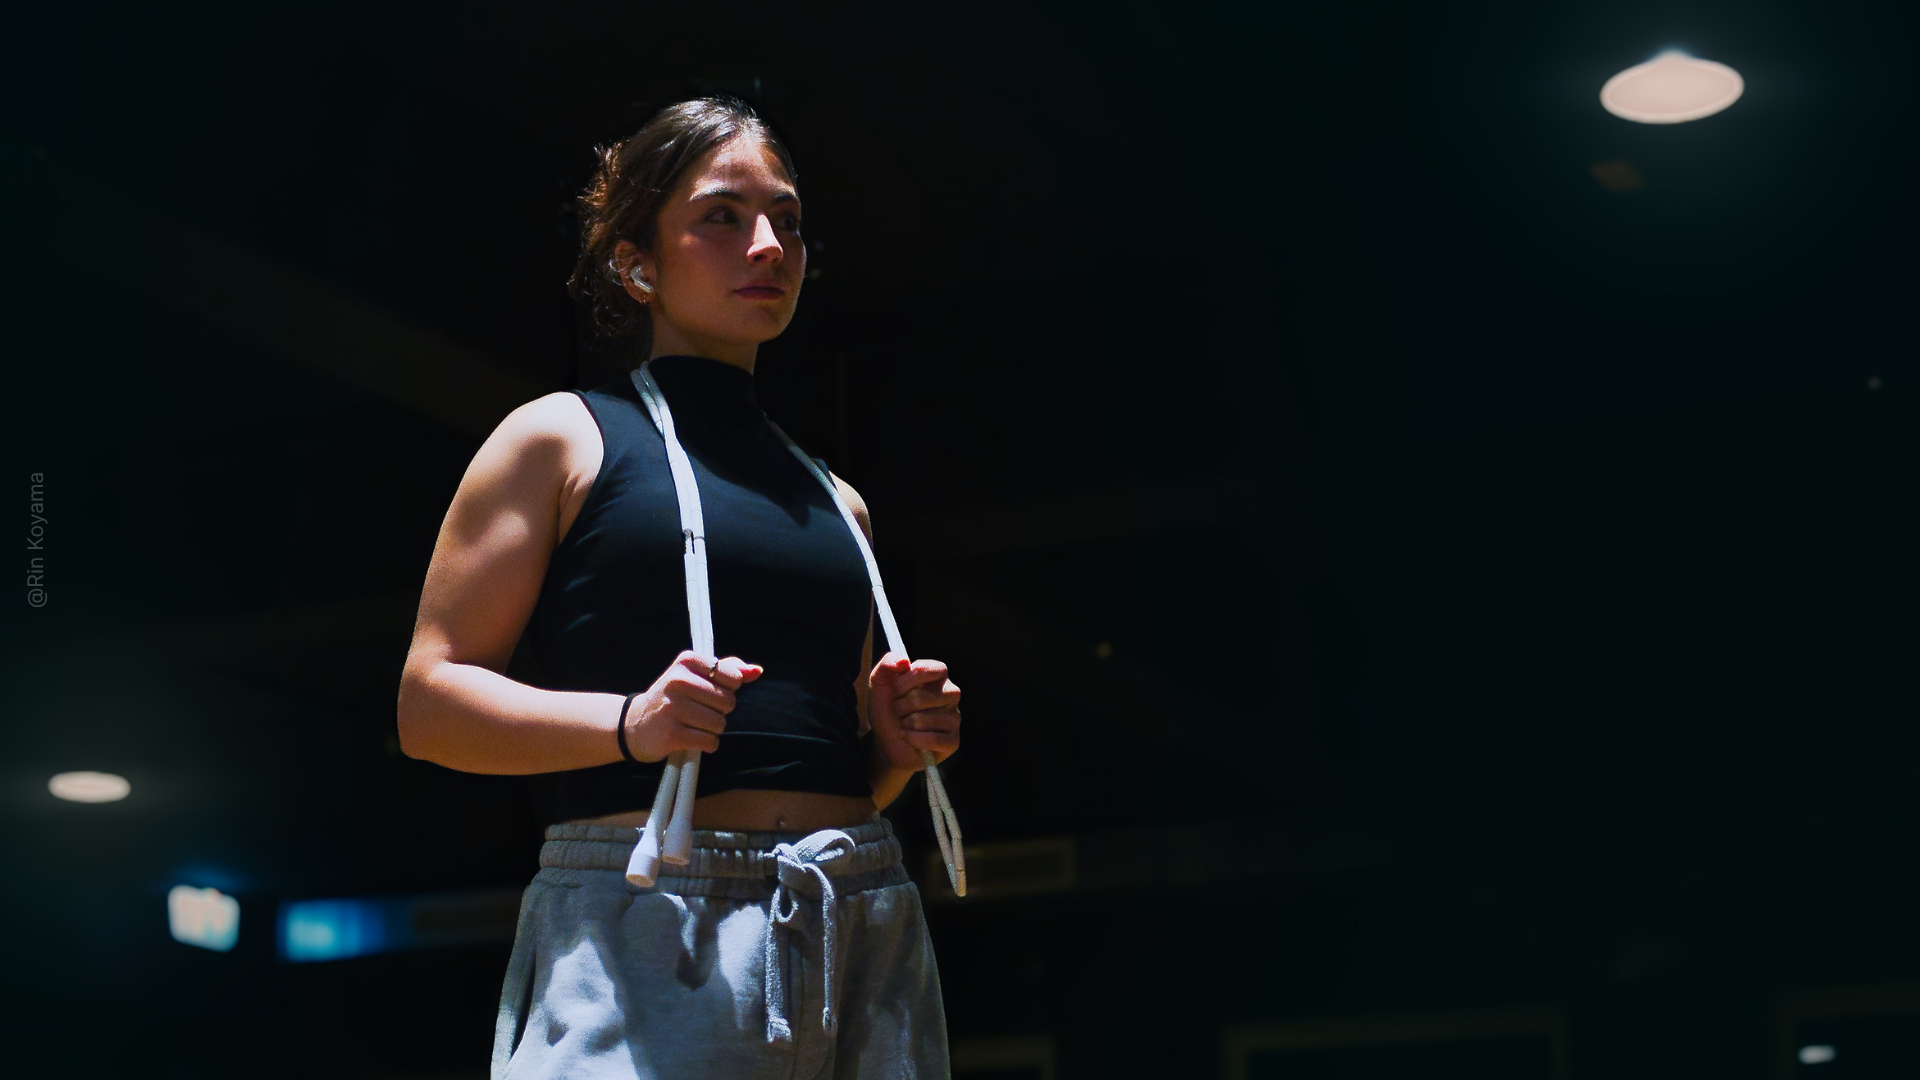
The picture of the model lost in thought, drinking a soda, evokes various associations. Is the young woman standing in an Asian shopping district in the evening? Has it just rained? Was the photo taken from inside a car?
No. Much better. This is how it was created.
SETUP
The photo was not taken in Asia, but in a makeshift photo studio in Hamburg, as Maximilian tells us. In addition to our Lumen Sticks, other individual parts were needed. The final picture was also refined a bit with Photoshop so that the characters are visible in the photo. We list here the individual parts Maximilian needed for this impressive picture.
Plexiglass plate
To simulate a car window through which the picture was supposedly taken, Maximilian used a plexiglass plate and wooden holders. All in all, this is a bit more cost-effective than a flight to Tokyo.
Lumen Sticks
He then placed our Lumen Sticks to the left and right of the model. This gave the picture the feel of a shopping district where colorful neon advertising illuminates the otherwise dark surroundings.
Tripods
So that the Lumen Sticks didn't have to be carried by assistants during the shoot, Maximilian used light stands. This allows the model to pose freely and adjustments can be made easily during the shoot.
Continuous light
An Octabox was also used to create light accents. This resulted in shading of the model's right side of the face and enhanced the turquoise color of the hair. To direct the light, Maximilian also used a grid (honeycomb).
Spray bottle
For the "raindrops" on the "car window", a simple spray bottle filled with water was enough. Spraying is done, of course, depending on the intensity of the rain to be depicted.

SHOOTING
Once the accessories and prepared motif ideas are ready, the shooting can finally begin. Depending on the motif, the color of the Lumen Sticks can be seen in the picture, but not the sticks themselves. After the shoot, of course, Photoshop can be used for further refinement.
CAMERA SETTINGS
| Camera | Lens | Aperture | Shutter | ISO |
|---|---|---|---|---|
| Panasonic GH5 | Sigma Art 50-100mm 1.8mm | 2.8 | 1/250 | 800 |

CONTROL LUMEN STICKS WITH SMARTPHONE APP
You can adjust our Lumen Sticks manually on the device, or with the Rollei Lumen App. This allows you to easily adjust colors, intensities, and gradients with your smartphone, without having to put down your camera first.

IMAGE EDITING
...and here comes the refinement. Photoshop is certainly not a must, but it can definitely enhance a picture. In this case, some details were emphasized more strongly. These include, for example, the model's eyebrows, lips, or iris. The Asian lettering was also superimposed on the original and the transition made transparent.

Share:
5 Advanced Studio Strobe Features for More Creativity
Outdoor shoot in Dubai: Flashes, dunes, desert tree
1 comment
Hallo, ich habe das Vorgängermodell mit abnehmbaren Griff und bin grundsätzlich damit zufrieden. Aber insgesamt ist die Leistung im Farbbereich sehr begrenzt obwohl schon deutlich kräftiger als bei den meisten Konkurrenten. Nur ein Drittel der LEDs sind farbig und farbiges Licht braucht eigentlich noch mehr Leistung. Will ich rein blaues Licht haben nutze ich im wesentlichen ein Drittel eines Drittels der Gesamtleistung. Auch dieses Bild funktioniert nur, weil die Sticks nah am Modell sind mit einer Blende von 2,8 und ISO 800.
Es wäre ein professionelles Gerät mit ganz anderen Möglichkeiten, wenn Rollei einen 20W-Stick nur mit RGB LEDs auf den Markt bringen würde. Oder einen rein weißen Stick mit 8 oder 10 festen Filter zum Festklemmen, gerne auch zum Nachrüsten für vorhandene Sticks.
Und gerne wieder mit abnehmbarem Griff den man auch in der Mitte anbringen kann. Dann braucht man kein Gegengewicht am Stativ.